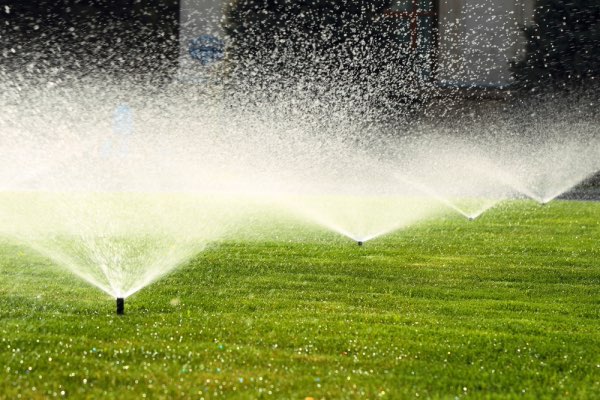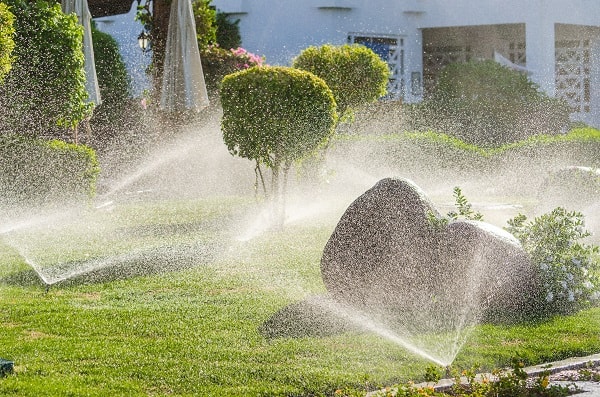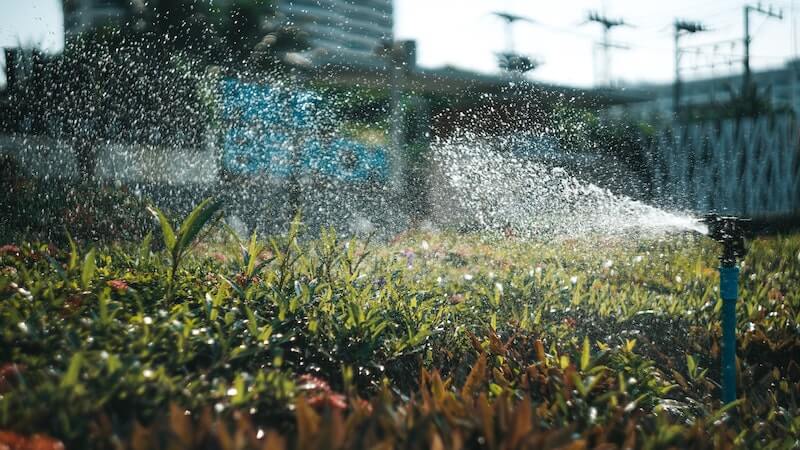
Spring in Texas heralds the return of vibrant colors to your yard. The grass is becoming that familiar green, and leaves are returning to the trees. H.E.B. Plumbing & Sprinkler is here to help you get your winterized sprinkler system ready for springtime, so it can help bring life back to your yard.
As with winterizing your sprinkler system, de-winterizing it involves taking time to ensure that it is working properly and efficiently for the new season. If you need help with your sprinkler, it’s important to keep in mind that an outdoor plumbing professional is just a phone call away. Now, let’s get started on getting your sprinkler ready for action.
Sprinkler System Maintenance

By conducting proper sprinkler system maintenance, you can help prevent future problems. While a full look at sprinkler system maintenance is beyond the scope of this blog, here are a few of the steps to help keep it functioning as it should. As you will notice, several of these maintenance steps overlap with spring de-winterization. By working with an outdoor plumber, you can best determine how to maintain your specific sprinkler system.
Sprinkler System Cleaning
Dirt and debris can interfere with how your sprinkler system performs. You need to clean your sprinkler system at least twice a year. You should clean it in late fall as well as late spring to get the clogs out before storage.
Parts of your sprinkler system that need cleaning include:
- Sprinkler heads
- Sprinkler filters
- Valves
Check for Any Problem Areas
Sometimes a damaged sprinkler system will give off certain signs. Below are several things that you should check.
Indicators of Sprinkler Head Damage can include:
- Irregular water streams
- Lack of water flow
- Damage to the sprinkler head’s plastic casing
- Damaged or broken spray nozzle
Indicators of Leaks or Water Damage
- Water on a driveway
- Soggy grass
- Soil erosion
As a reminder, if you are having trouble, it is a good idea to consult with a professional.
Adjust Sprinkler Heads
Depending on where your sprinkler system is watering, you may need to make adjustments to your sprinkler heads to prevent areas from being underwatered or oversaturated. How you adjust them depends on the type of sprinkler head that you have.
Perform the Tuna Can Test
To make sure you aren’t overwatering your lawn, it’s a good idea to perform the tuna can test to determine how much water output your sprinkler system has. To conduct the tuna can test, you’ll need eight tuna cans or a can of a similar size, such as a pet food can.
Step 1. Place the Cans
Position the eight cans with flat bottoms around your yard within range of the sprinklers. Position some cans closer to the sprinklers and others farther away.
Step 2. Run the System
If you have stationary nozzles, run your sprinkler system for seven minutes. If you have rotatory nozzles, run the system for 15 minutes.
Step 3. Measure the Water
Once the time is up, use a ruler to determine the depth of the water in the cans. Calculate the average by adding up the amount and dividing by eight and recording the amount.
Study the cans to see if the water has spread uniformly. If the water is spread unevenly, you may need to make adjustments to the nozzles.
Step 4. Use the Chart to Determine How Long the System Should be Run
Refer to this chart to help determine the number of minutes each week that you should run your sprinkler system. Be sure to make a record of the times for reference in the future.
Pay Attention to the Condition of your Grass
Just by looking at your grass, you can get a good indication of its health. While there can be unseen problems, inspecting your grass is a great idea. Curling, wilting, or brown spots can be indications of a lack of water.
Grass tends to need less water during a drought or dormant season, but please check with a professional for the best results in your situation. If the grass is soggy or if fungal diseases are occurring, that can be a sign that it is being overwatered. If these problems occur in specific areas, it could be a sign that a certain part of your sprinkler system is experiencing an issue, such as a leak.
De-winterizing Your Sprinkler System

As with getting your sprinkler system ready for winter, you’ll need to get your sprinkler system ready for spring. Please be aware that de-winterizing your sprinkler system can take two or more hours to complete. The time it takes to get your sprinkler system ready will depend on the size of your yard.
Please keep in mind that there can be variations in the different types of sprinkler systems. If you have questions, it’s a good idea to reach out to a trained professional.
Sprinkler System De-winterization Steps
Before you use your sprinkler system in springtime, you’ll need to take several steps to get it working correctly. Failure to do this can result in damage to your sprinkler system and your yard being incorrectly irrigated.
Step 1. Check for Frozen Ground
You can break water lines if you use your sprinkler system when the ground is still frozen. It is important to ensure that your yard has thawed before de-winterizing your sprinkler system. If you find yourself needing to water a lawn before your yard has thawed, you’ll need to use a hose.
To determine if the ground is still frozen, find a place in your yard that you don’t mind digging in and dig down at least a foot into your ground. If you come across frozen ground while digging, try again in one or two weeks.
Step 2. Active your Sprinkler System Control Panel
A control panel is a vital part of your sprinkler system. Once you’ve turned it on, check to ensure the settings, such as time, date, and irrigation zones, are correct. If you don’t know how to do it, it’s important that you consult your owner’s manual or contact the manufacturer. If you don’t have access to a manual, there may be one available online, or your dealer may have one in stock.
If your sprinkler system comes with backup batteries, and they are over six months old, it is a good idea to replace them at this time.
Step 3. Inspect, Clean Off, and Prepare Sprinkler Heads
This step may take a while, but it is important to maintain your sprinklers. If the sprinkler heads get blocked with dirt or debris, it can severely hamper their performance. You could end up with one section of the yard not getting enough water while another part of the yard gets too much water.
Follow these steps for each sprinkler head:
Step 1: Check for Damage
Check the sprinkler head for signs of damage. If a nozzle has been damaged, you can generally remove it by unscrewing it. You can then purchase a replacement nozzle at a nearby lawn care store. If there is damage to the head assembly, you should contact an outdoor plumbing specialist, as additional work may be required.
Step 2: Clean the Nozzles
You can use an old toothbrush to thoroughly clean the nozzles.
Step 3: Allow Air to Escape
Ensure that the sprinkler valve is closed unless it is the valve that is the farthest away from the main water source. That valve needs to be left open, and the sprinkler nozzle there needs to be removed so air can escape when the water is turned on.
Please note: if your sprinkler system has multiple branches that feed off the mainline, open up the valve and take the nozzle off of the last sprinkler on each of the branch lines.
Step 4. Open Up the Main Valve
You must open the main valve slowly. Failure to do so can result in costly damages in the form of a “water hammer.” A water hammer is essentially a powerful surge of water and air capable of breaking valves, cracking pipes, and even sending sprinkler heads flying! Needless to say, that can be very dangerous.
Slowly open up the main valve until the flow of water can be heard. Stop opening the valve and wait for a few minutes as the water gets fed into the main line. After a few minutes have gone by, go ahead and carefully turn the valve a few more degrees to continue opening it. Do this start-and-stop process every couple of minutes until the main valve is fully open.
If your system has branches that feed off of the main line, it may have more valves where the branch lines and mainline meet. You’ll need to repeat the slow open process for each of these valves once the main line is filled up with water.
When the necessary valves have been opened, inspect the furthest away sprinkler valves from earlier. Without the sprinkler heads, stuck dirt and debris should flush out. When the water appears clear, close up the valve and reattach the nozzle.
Step 5. Inspect the Irrigation Zones

Once your sprinkler system is ready to go, you’ll need to inspect the different irrigation zones one at a time to make sure it is functioning correctly. By doing this, you can ensure that all parts of your lawn are being properly irrigated.
You’ll need to program your sprinkler system controller to only irrigate a single zone in your yard at a time. When one section is activated, go and inspect it. Be sure to check for non-functioning sprinkler heads. Also, be on the lookout for abnormally low water pressure, as that can signify a break in the waterline. Soggy spots in the soil can indicate the location of a waterline break. If you’ve got a leak, shut off the main valve until the leak is repaired.
Make note of any nozzles that need adjusting before you turn off the sprinkler system. This can save you trips to your control panel, as some nozzles are only adjustable when they are off.
Depending on the type of sprinkler head you have, it will need to be adjusted in different ways.
In the following section, you will find ways to adjust common types of sprinkler heads. Please note not all sprinkler heads will be the same.
Stationary Sprinkler Head
The top of the nozzle has a spray radius adjustment screw. By turning that, you can adjust the nozzle direction. To lower the water pressure, turn the screw clockwise. To increase the water pressure, turn the screw counterclockwise.
Pop-Up Sprinkler Heads
You need to adjust pop-up sprinkler heads when they are turned on. By using a flathead screwdriver, you can make adjustments to the screw located at the top of the nozzle. Turn the screw clockwise to reduce the width of the spray. Turn the sprinkler counterclockwise to increase the width of the spray.
Rotor Sprinklers
The nozzles on a rotor sprinkler are held in place by a set screw. The way they are adjusted varies, so be sure to consult a manual.
Pulsating Sprinkler Heads
To adjust the water speed of a pulsating sprinkler head, push the tabs located on the nozzle.
For the final stage of the inspection, turn on all irrigation zones simultaneously. Lastly, conduct one final walkthrough, and your de-winterization will be complete!
Sprinkler System Repair Services
As you’ve no doubt seen, sprinkler systems can be a lot of work. If your sprinkler system is damaged, it can be devastating for your lawn. Don’t wait to get it repaired; reach out to a professional to get it fixed. You don’t want to miss out on the vibrant green of a spring lawn. If you’re in Tarrant County, Texas, the award-winning H.E.B. Plumbing & Sprinkler can help you with sprinkler maintenance and repair. We’ve been in business since 1980 and are a name you can trust.
Contact us to schedule an appointment!
